Slate
A post git-push feed tool.
The tool consists of a basic web server that listens for git commits on my various projects (using Gitlab’s web hooks), and then posts them as status messages on a Mastodon bot account.
Source code can be found here.
Known Issues
- The tool doesn’t check event source right now. It can fail if used on a webhook that triggers on anything other than a push event.
- The tool doesn’t check for commit author. On a multi-author repository, it will pull every commit.
- I’ve only implemented gitlab webhooks. Github support is incoming. Possibly.
Running the tool locally
This tool links together Mastodon and Gitlab, and so requires some setup on both services to get this working.
Normally, you’d also need a web server to host the tool, but you can test locally via smee.io.
Creating a Mastodon application
The easiest way to create an application in Mastodon is to go to your (hopefully bot) account, then go to Preferences -> Development -> New Application.
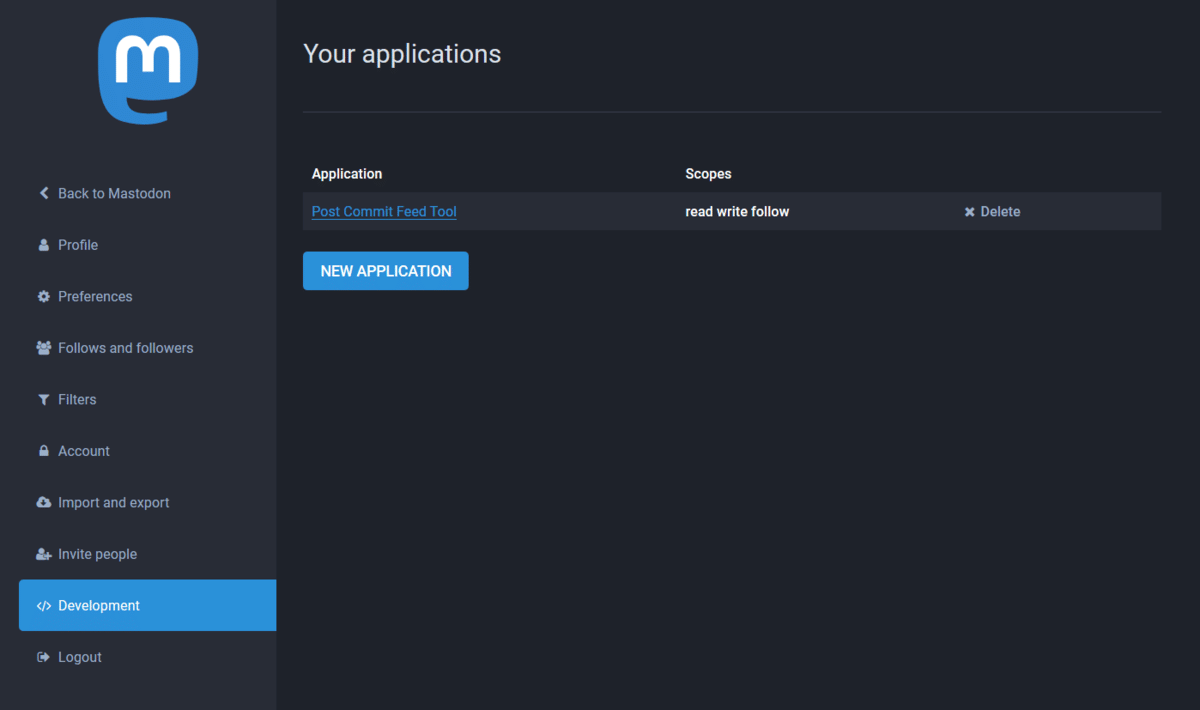
Fill out the application details with whatever you want; what’s important is that the application has write permission. Make a note of the access token; you’ll need it later.
If you want to use the CLI, you can create an application via CURL by following these steps
Setting up Web Hook Forwarding
Open smee.io, which should give you a unique link. This is the link you’ll use to create your webhook, which will then be forwarded to localhost.
Creating Gitlab Webhook
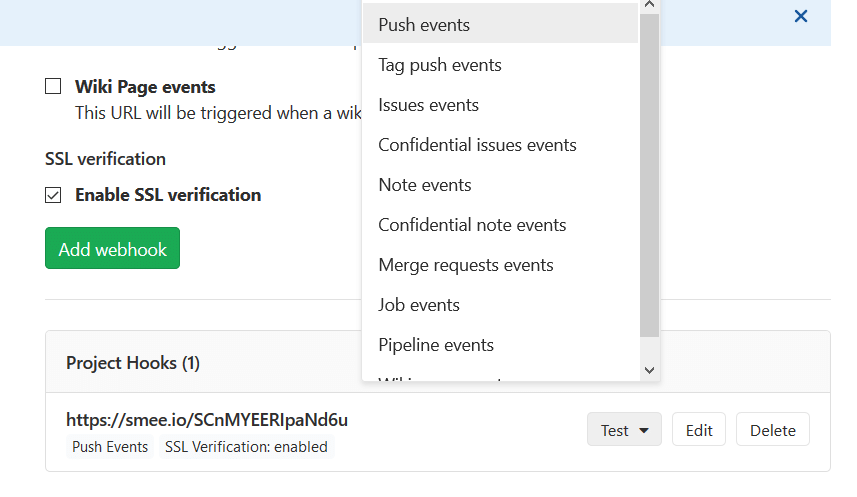
In your Gitlab project, add a new webhook to your repository with the URL pointing to that smee link you got from smee.io. Make sure that the webhook only triggers on push events.
You can add webhooks via Settings -> Integrations on the sidebar.

Setting up the tool
Clone the repository for the tool, and then run
$ npm install
to install dependencies.
Then, you’ll want to create a .env file in the base project directory to hold sensitive variables. Specifically:
ACCESS_TOKEN=absdclvkwjdlfkjwlekfj # The access token received from when you created the Mastodon application
INSTANCE=https://mastodon.social # URL for the Mastodon instance the account is on
WEBHOOK_TEST=https://smee.io/abcde # The URL of the smee.io link you generated earlier
Putting it all together.
Run the tool:
$ node index
which will open up the app on port 3000.
In a different terminal window, you’ll want to set up the smee URL forwarding. There’s a utility file at the base directory for the project called webhook-tester.js.
Run the utility:
$ node webhook-tester
At this point, you can test out the Gitlab webhook you created earlier by running Test/Push events, which will send the webhook to smee.io, and then to the tool.
If you set up everything correctly, your smee.io link should have a new webhook paylod in the browser, and the commits in that webhook payload should be posted to Mastodon as toots.
(I didn’t figure out a way to ‘dry run’ Mastodon toots, so you’ll probably have to clean up any testing toots later.)
Running the tool in production
This assumes that you already have your Mastodon application and access token. The basic steps are the same, but instead of using smee.io to forward a webhook, you instead host the app on a web server and send the webhook straight there.
Hosting the tool
I used Heroku, using their Node.JS app path. The tool repository is already set up so that it runs on Heroku, so you can follow the default deploy steps.
You’ll also need to edit the config variables so that environment variables are set. As stated above, here are the values you’ll need:
ACCESS_TOKEN=absdclvkwjdlfkjwlekfj # The access token received from when you created the Mastodon application
INSTANCE=https://mastodon.social # URL for the Mastodon instance the account is on
Make sure you keep note of the URL for the new Heroku application.
Create a new webhook on Gitlab
All hooks are assumed to POST to the /gitlab route on the web server. So this time, when you create your hook on Gitlab, the URL should be:
http://name-of-heroku-install.herokuapp.com/gitlab
(or wherever else you put the server.)
Again, make sure only push events are sent.